Pages

Feb 13, 2011

Happy Valentines Day

Some heart-shaped biscuits for Valentine's Day


I made these hearts using the 'teegeback' recipe that i use for some of my Christmas cookies.    You could also use the sugar biscuit recipe that i used for the Butterfly Spring Biscuits


Teegebäck


500 g cake flour
2 teaspoons baking powder
150 g sugar
2 eggs
250 g cold butter


Sift the flour and baking powder into a bowl.  Make a well in the middle for the eggs and sugar.  Whisk the eggs and sugar together and then incorporate some of the flour on the edges of the well.  Chop the butter into the mixing bowl and then knead everything together.  If you have a mixer, you can do this last step in the mixer.  Place the dough in the refrigerator for an hour before rolling it out and cutting out your shapes.  Place the cut out shapes onto a baking tray and bake in an oven preheated to 200 degrees Celsius for 10 - 15 minutes.


Before icing, allow to cool.  Make royal icing in the desired colours and have fun decorating!!

Jan 27, 2011

Berry Tarts

White Chocolate and Gooseberry Tart

This is another super recipe from my Donna Hay recipe book.  Donna makes it as a white chocolate and raspberry tart.  I have, over the past few years, made several different versions there-of: White chocolate and gooseberry, dark chocolate and pear, milk chocolate and strawberry etc etc!  This is such a fantastically simple recipe, so the next time that you have to make a dessert for a special occasion, give it a try!
White Chocolate and Raspberry Tartlets


White Chocolate Tart


375 g sweet short crust pastry (recipe to follow)
225 g raspberries (or any other berries
300 g white (or dark or milk) chocolate
500 ml cream
4 egg yolks


Preheat the oven to 200 degrees Celsius.


On a lightly floured surface, roll the pastry out until approximately 3 mm thick.  Carefully place the pastry in a 25 cm tart tin.  Prick with a fork and cover with baking paper.  Fill with rice or beans and bake blind for 5 minutes.  Remove the beans/rice and bake for another 5 minutes or until the pastry is a lovely golden colour.


To make the filling:  Heat the chocolate and cream together, until the chocolate has melted.  Remove from the heat and whisk in the egg yolks.  Pour the mixture into your tart shell and bake at 140 degrees Celsius for 25 minutes or until the tart has just set.


Refrigerate until cold and firm. Decorate with fruit or berries of your choice. 


Et voila!

Jan 26, 2011

My New Toy!!

I actually wanted to post this blog in November, but i wanted to have some pics to go with it.  I am a firm believer that we eat with our eyes and how better to tempt you to try the recipes that i have tried than with a few well-taken photographs.  Anyway, this ice-cream (semi freddo, actually) that i made didn't last long enough for me take any good photo's... So here is the post sans photo's...


On Friday, i celebrated my birthday!!  My fiancé spoilt me and i became the proud owner an ice-cream maker!!  I was so excited to put this fantastic gadget to use, that i did so on Sunday.  I made the Raspberry Ripple Semifreddo featured on the cover of the November edition of the Food & Home Entertaining magazine.  Using berries from my own garden!  My sister has made this recipe without the use of an ice-cream maker, so for those of you who don't have one, don't despair!  It works just as well made the old fashioned way.


Raspberry Ripple Semifreddo


4 large eggs
2 egg yolks
60 ml vanilla extract (i used vanilla sugar, so left the extract out)
210 g castor sugar
500 ml fresh cream
130 g fresh or frozen raspberries


1.  Combine the eggs, vanilla and sugar in a heatproof bowl.  Place over a pot of simmering water and beat with a handheld mixer for 20 min.  (I only had the patience to beat for 10 min!)  
2.  Once the mixture is thick and pale, remove from the heat and carry on beating for another 20 min (once again, a lack of patience on my part) until the mixture has cooled.
3.  In a separate bowl, beat the cream until stiff.
4.  Gently fold the cream into the egg mixture.
5.  Pour into a 2-litre container.
6. Process half of the berries in a blender.  Add these as well as the whole berries to the semifreddo and stir gently.
7.  If using an ice-cream maker, place in the refrigerator for 12 hours or overnight.
8.  Old-school style: place in the freezer and whisk the mixture every two or so hours to prevent large ice-crystals from forming.

Dec 22, 2010

Wedding Season is in Full Swing

'Tis most certainly the season, the season to be wed!  I always knew that December was a popular month for weddings in the Cape, but until now, i had no idea how much so.  I have been soooo busy with wedding cakes, it's fantastic!!  Here are some more pics of what has kept me away from my blog, and the gym and Christmas preparations!


Liani and Ruhan's Tower of Purple Velvet Petits Fours


Look at the lovely cake topper
that Liani got -
something special!


In keeping with the purple theme, Liani chose purple velvet petits fours: purple velvet (spin off of the ever popular red velvet) sponge with cream cheese frosting.  These were covered in fondant in various shades of purple and decorated with patterns and pretty blossoms.


For the two uppermost tiers, the traditional brandy-soaked fruit cake covered in marzipan was chosen.  To tie in with the petits fours, i iced a 'ribbon' of pattern along the bottom of the cakes and adorned the rest with the lovely little blossoms!


Jody & Mark


I met Jody at my stand at the Somerset Mall Bridal Fair in the beginning of the year.  She really liked this cake that i had on display:
She really wanted a chocolate cake though and her theme was gold and burnt orange.  So this is what i did:  A deliciously moist carrot cake, layered with lemon buttercream frosting & covered with a white chocolate collar.  For a touch of gold, i sprayed the chocolate collar with a little edible gold spray paint.


Chocolate Cake Three Ways


This is a pure chocolate cake: chocolate sponge, chocolate ganache and coated with a chocolate plastique!


I had a leeetle bit of spare time when finishing off this one and a whole lot of ideas.  So i quickly popped down to the ribbon shop to get a few different types of ribbon to release my creative urge! Before finishing this cake off as requested (images with red roses), i tried two other ways.  Unfortunately, the blue ribbon wasn't exactly what i was looking for. Because the pink-look cake was kinda vintagey i wanted to go with something super modern with the blue. Alas alack!  Here are the pics anyway - let me know which one is your favourite...


Dec 21, 2010

A Lion for Ethan

Some pics of the lion i made for the 3rd birthday of the son of a friend of mine...  I got the idea from this website.  I just added a bit of colour for some fun.  The letters along the side of the cake were made with petal paste and some alphabet cookie cutters. I had so much fun doing it, i felt as if i was in pre-primary all over again. It's amazing how working with something as simple as that can be so therapeutic!

HAPPY BIRTHDAY ETHAN!!


Dec 5, 2010

Coming up roses!

This week's wedding cakes were simple and elegant, leaving their wow factor up to beautiful fresh roses.  There is just really nothing like beautiful fresh flowers! 


Nov 30, 2010

Talented Service Provider

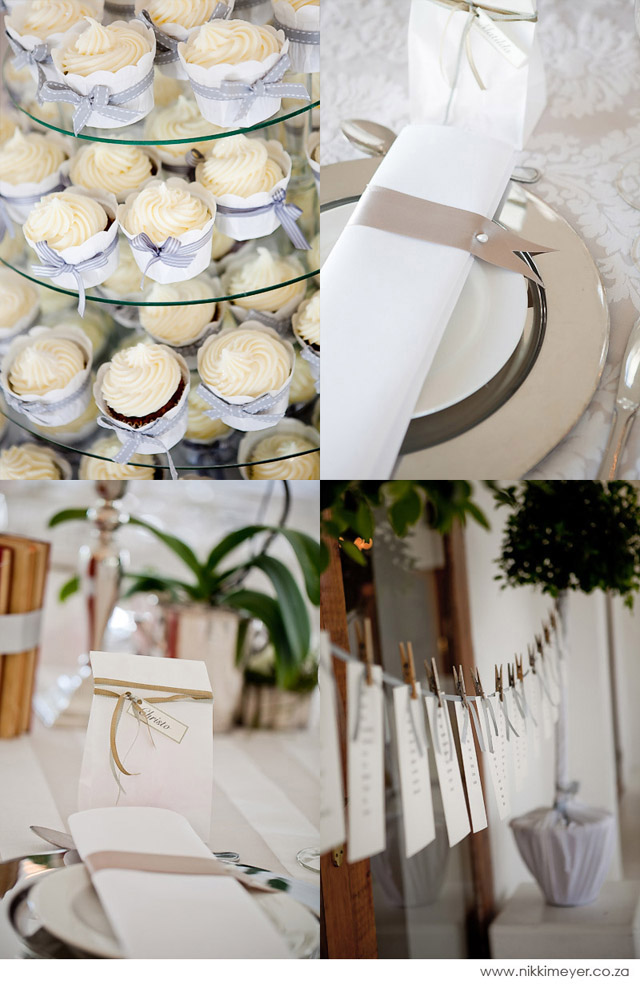
I just had a look at the beautiful photos that Nikki Meyer took of Nico and Dala's wedding.  As i said last week , the venue was stunningly decorated.  The weather was gorgeous, the bride breathtaking and the shots that Nikki took definitely something for the couple to treasure for many years to come!  For more pics, have a look here.